- IntelliJ IDEA的这个接口调试工具真是太好用了!
- 学会IDEA REST Client后就可以丢掉postman了
下面需要用到工具访问写好的接口
这里选择用 idea 提供的 http client 【推荐:⭐️⭐️⭐️】
(不用idea的,可以用chrome的http client或者postman代替)
下面基本展示一下 idea 的 httpclient 工具的使用
启动程序
首先,启动上面写好的主程
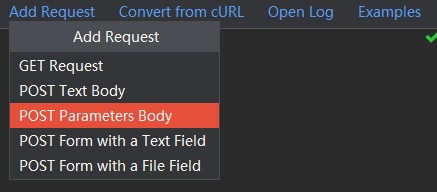
发送请求
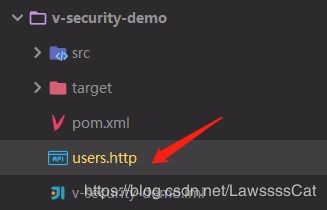
添加httpclient文件(.http后缀即可)
写入请求内容
# 请求路径GET
 http://localhost:8080/user#
 请求头
 Content-Type: application/json
 {# 请求体}
 # 三个井号分割开两个请求###
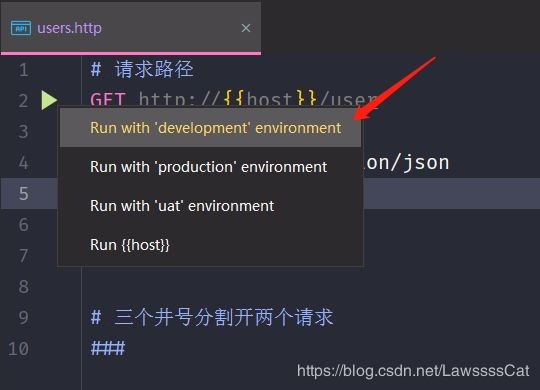
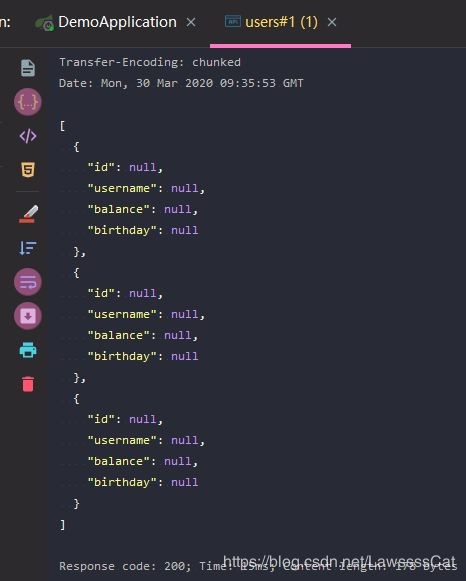
发送请求
点击运行键即可发送请求,并且在控制台看到响应
环境变量
官方文档:https://www.jetbrains.com/help/idea/http-client-in-product-code-editor.html#example-working-with-environment-files
可能会用一些常用的变量,如:域名、用户名、密码、令牌等
并且这些变量会随环境的变化而变化,如生产环境的域名和开发的域名肯定不同。
这时,我们可以把这些变量抽出放到一个文件中
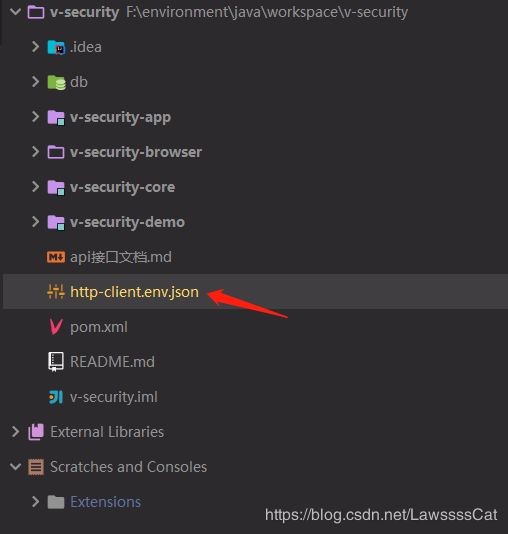
创建文件:http-client.env.json
在项目路径创建 http-client.env.json 文件,可以在里面设置环境变量
设置环境变量
这里设置
- 开发环境 “development” 的host
- 用户测试环境 uat 的 host
- 生产环境 production 的 host
{
  "development" : {
    "host" : "localhost:8080"
  },
  "uat" : {
    "host" : "uat.vshop.cn"
  },
  "production" : {
    "host" : "vshop.cn"
  }}
发送请求
回到 users.http
把域名该成 {{host}}
GET http://{{host}}/user
Content-Type: application/json

###
选择生产环境运行,也是可以成功获得响应的
另外,如果有一些变量不想公开,如生产环境的账号密码。
可以创建文件 http-client.private.env.json ,把不想公开的变量放进去,变量也会起作用。
(并且,http-client.private.env.json的优先级大于 http-client.env.json ,当变量冲突,前者的变量会覆盖后者。)
最后,把文件名放入 .gitignore 中进行排除,即可避免变量公开。
响应处理脚本(Response handler script)
官方文档:https://www.jetbrains.com/help/idea/http-client-in-product-code-editor.html#using-response-handler-scripts
- 我们很多时候不会一个
会话 只发送一个 请求 ,而是在一个会话中发送多个请求。 - 并且,会根据不同响应,发送不同的请求或者请求体。
这就需要响应脚本进行处理。
刚好 idea 的 http client 提供了 响应处理脚本 的功能
(下面看 Examples 里面的一个例子)
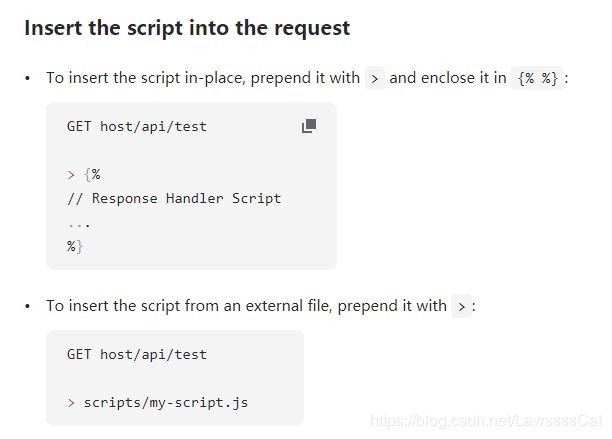
脚本使用方法两个(下图)
- 在
.http 文件中直接写脚本,用 >{% ... %} 包裹 - 直接导入
js脚本 , 用 > 文件url 的方式
(这种方式,需要引入 JavaScript Library | HTTP Response Handler.)
脚本的编写
脚本可以 javascript(ECMAScript 5.1)写。
主要涉及到两个类:
- client:存储了会话(session)元数据(metadata)。
- response:存储响应信息(content type、status、response body 等等)
【这里】API
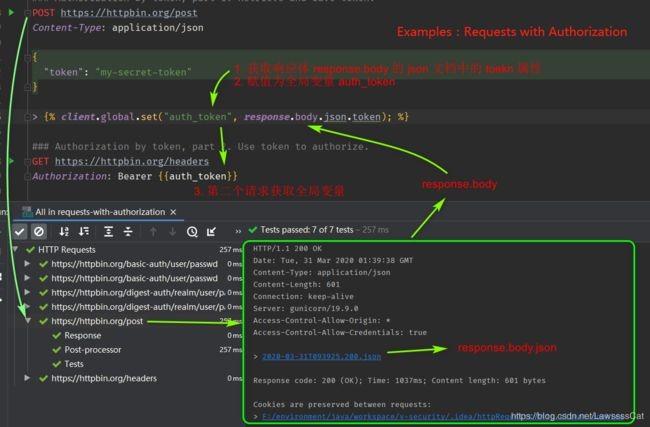
client.global.set 和 {{...}}
用 client.global.set("variable_name", variable ) 存的数据,可以在下面的 HTTP requests 请求中用 {{variable_name}} 取出来
(上面的图片就是例子)
client.test 和 client.assert
可以写测试方法,并对结果进行校验。这和我们上面写的测试类类似
开启测试:client.test(testName, function)
校验结果:client.assert(condition, message)
GET https://httpbin.org/status/200> {%
    client.test("Request executed successfully", function() {
        client.assert(response.status === 200, "Response status is not 200");
    });%}
其他 API
可以(ctrl+左键)点击client进入源码去看(下面是去注解简化版)
var client = new HttpClient();var response = new HttpResponse();function HttpClient() {
 this.global = new Variables();
 this.test = function (testName, func) {};
 this.assert = function (condition, message) {};
 this.log = function (text) {};}function Variables() {
 this.set = function (varName, varValue) {};
 this.get = function (varName) {return varValue};
 this.isEmpty = function () {return true};
 /**
  * Removes variable 'varName'.
  */
 this.clear = function (varName) {
 };
 /**
  * Removes all variables.
  */
 this.clearAll = function () {
 };}function HttpResponse() {
 this.body = " ";
 this.headers = new ResponseHeaders();
 this.status = 200;
 this.contentType = new ContentType}function ResponseHeaders() {
 this.valueOf = function (headerName) {return headerValue};
 this.valuesOf = function (headerName) {return headerValue};}function ContentType() {
 this.mimeType = "application/json";
 this.charset = "utf-8";}
到这里,其实你也发现了,idea的httpclient完全可以替代我们前面写的测试代码。
从写代码测试代码的初衷来看:
- 快速测试接口
- 重构时,能快速找出变化了,有问题的接口
.
是的。萝卜青菜,各有所爱
到这里,你会发现,IntelliJ IDEA HTTP Client 的优点有
- 在同一窗口实现开发和测试
- 测试脚本可以实现串联的接口调用,提高测试效率
- 可上传的测试脚本,在多人协同合作的环境下,共享接口请求代码变得非常简单